Investing in a pair of M1 Skis means equipping yourself with some of the most advanced and high-performance gear available. To keep your skis performing at their peak and extend their lifespan, regular maintenance is key. Whether you’re an experienced skier or new to the sport, this ultimate guide will walk you through the essential steps to properly maintain your M1 Skis, ensuring they remain in top condition season after season.
If you’d rather not get your hands dirty, or if you have specific questions regarding maintenance, please contact us. We'd love to help you.
Why Maintenance Matters
Skiing puts your equipment through a lot—cold temperatures, abrasive snow, ice, and the occasional hidden rock can all take a toll. Proper maintenance not only preserves the performance characteristics of your skis but also enhances your safety and enjoyment on the slopes. By following these maintenance steps, you’ll keep your M1 Skis running smoothly and ensure they’re ready for any challenge the mountain throws your way.
1. Regular Cleaning
Keeping Your Skis Clean
After each day on the slopes, take a few minutes to wipe down your skis. Use a soft cloth to remove any dirt, salt (chemicals in artificial snow and/or road grime, or moisture. Pay special attention to the edges and base to prevent corrosion and other damage.
Tip: If you’re skiing in wet or slushy conditions, it’s especially important to dry your skis thoroughly. This helps to prevent corrosion, particularly on the integral aluminum edges.
2. Waxing for Optimal Performance
Our base prep process is not only similar to traditional skis but also much faster and easier. Instead of the time-consuming routine of dripping, ironing, scraping, and cleaning hot wax, we use a liquid, silicone dioxide hybrid ceramic wax. This wax is applied and then buffed off in just a few simple steps.
The entire process takes about 5 to 10 minutes for two pairs of skis—compared to the 30+ minutes required for a typical hot wax. You get the same hydrophobic protection and glide performance but with a fraction of the effort and time.
Why Waxing is Crucial
Waxing your skis regularly is essential for maintaining their glide and speed on the snow. Not only do you glide downhill, you also glide laterally as you engage your turns; so optimal waxing enhances your ability to maintain control. M1 Skis feature an aluminum running surface that benefits greatly from regular waxing.
How Often to Wax
As a general rule, it’s good practice to wax your skis as often as possible (at least every 3 or so days of skiing). With our quick and painless wax process, you'll have no problem getting a wax in anytime you have a few extra moments to spare. Bottom line: if you notice your skis feeling slow or sticky, it’s time for a fresh wax.
Waxing Process
-
Clean the Base: Before applying wax, make sure the base is clean. Use a base conventional cleaner and a gentle brush to remove any dirt or old wax.
- Use a clean microfiber cloth or applicator to disperse the cleaner across the whole running surface of the ski.
- After 5-10min (one dry) use a gentle brush to sweep of any contaminants or residue.
-
Wax On: Ensuring sufficient coverage of the running surface of the ski will provide consistent smooth glide free from any “sticky spots” creating drag or a jerking sensation.
- Dispense a thin ribbon of silicone dioxide hybrid ceramic automotive wax (an example is Mother’s Ultimate Hybrid Ceramic) down the middle of the ski from tip to tail.
- Distribute across the base evenly with a clean microfiber cloth or applicator.
-
Wax Off: Adequate buffing will ensure optimal glide for your skis right off the lift.
- While distributing wax on the base buff vigorously until shiny.
- Buff 3-5 times with a detailers or shoe-shining sponge
- Wipe gently with a blue “shop towel” or other soft rag to feel for any sticky spots and check for residue.
- Enjoy: Now your skis are ready to rip. Get out there and exercise your need for speed.
3. Edge Maintenance
After over five years of testing, we’ve found no significant difference in performance or upkeep between our aluminum edges and traditional steel edges. Both deliver the same sharpness, grip, and reliability on the mountain, but without requiring any additional effort. While some might expect aluminum to need more attention, the maintenance is just as straightforward as with steel.
Maintaining Sharp Edges
The integral aluminum edges on M1 Skis offer exceptional grip and control, but regular upkeep is essential to keep them performing at their peak. After each day on the slopes, run your fingers along the edges to check for burrs or nicks. If you find any, simply smooth them out with a diamond stone or soft gummy-stone, just as you would with steel edges.
Sharpening Your Edges
For optimal performance, maintain the factory-set edge angle of 87°. Use an adjustable edge tool or file and guide to keep this precise angle. After sharpening, polish the edges with a 600-grit (fine) and then a 1000-grit (extra fine) diamond stone to remove micro-burrs and ensure razor-sharp precision.
Pro Tip: In wet conditions, passing a 400-grit (medium) diamond stone over the edges can help reduce suction between the skis and the snow, much like water trapped between two panes of glass.
4. Base Repair
Dealing with Scratches and Gouges
Even with the toughest skis, the base can get scratched or gouged over time. While minor scratches are usually not a problem, deeper gouges should be addressed to maintain the performance and longevity of your skis. As a rule, if the gouge or protrusion is significant enough to catch your fingernail when scratching the base, it should be addressed with a stonegrind and re-structuring from a local shop.
DIY Base Repair
- Clean the Damaged Area: Use a base cleaner to remove any dirt or debris from the damaged area to prevent further damage while working.
- Address the Gouge/Protrusion: Using either a course diamond stone or second-cut file carefully work the edges of the gouge or protrusion until “flush” with the surrounding running surface. Wipe any debris off of the base with a gentle brush or rag at the end of this step.
- Polish Smooth: With a 600-grit (fine) then 1000-grit (extra fine) diamond stone polish the area being mindful to work gently tip to tail.
- Wax: See above instructions regarding waxing as you will want to re-wax your skis to ensure any newly exposed material is appropriately prepped.
5. Storing Your Skis
Proper Off-Season Storage:
How you store your skis during the off-season can greatly affect their condition for the next season. Proper storage will help prevent rust, warping, and other damage.
Storage Tips:
- Clean and Wax: Before storing, give your skis a thorough cleaning and ensure that they are dry.
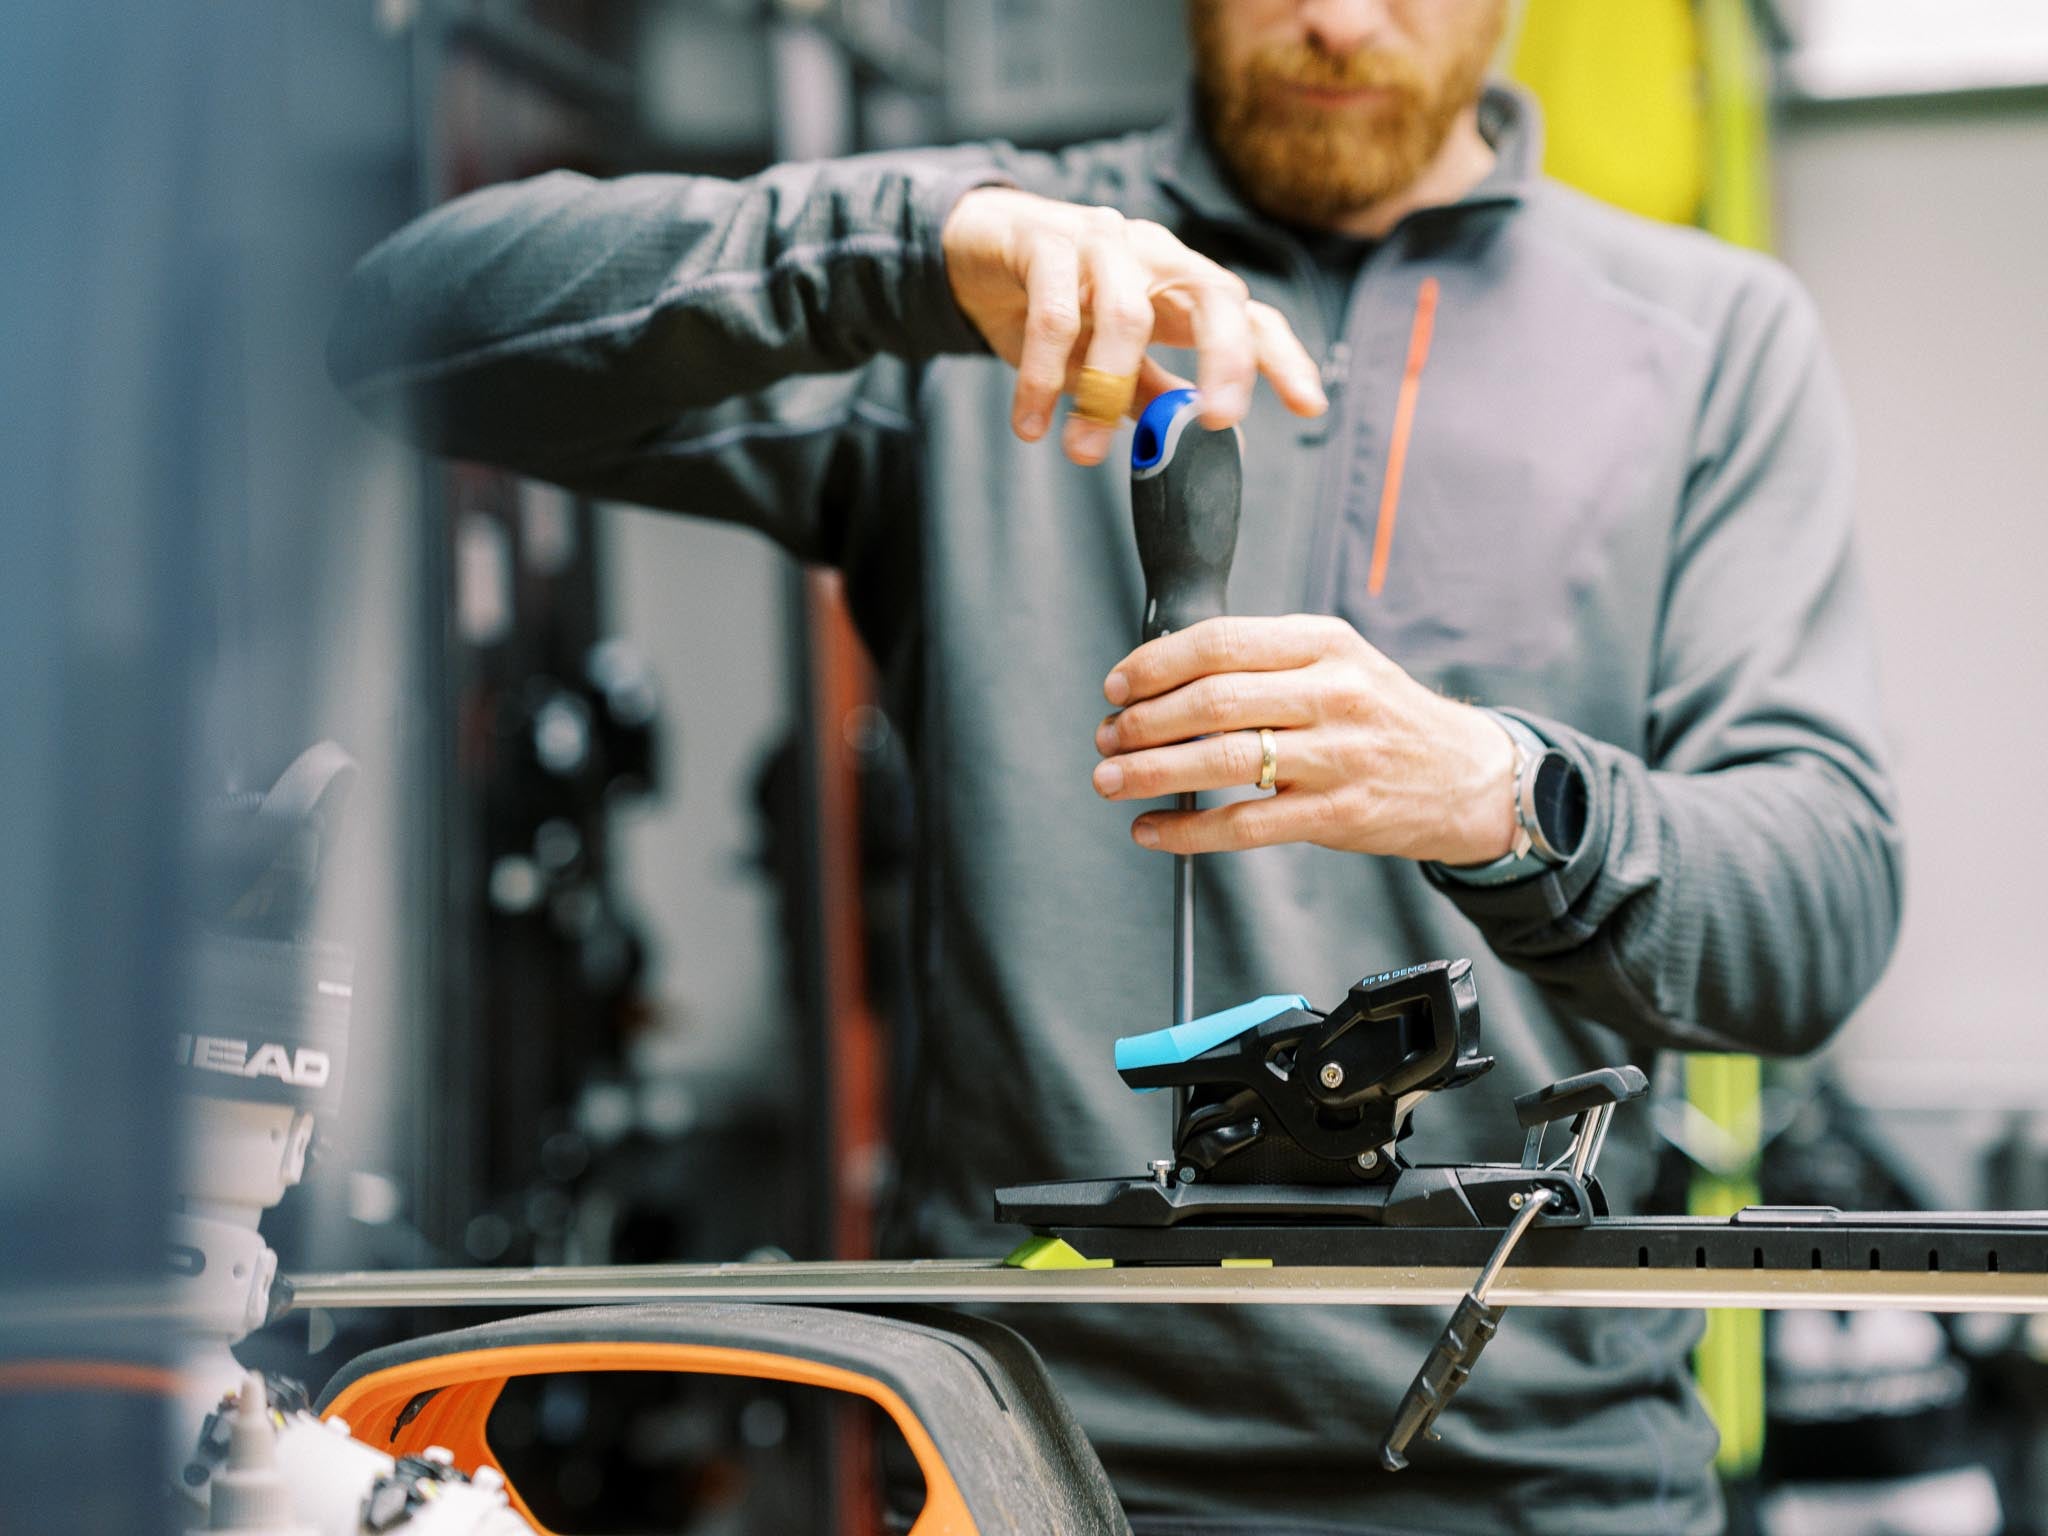
- Loosen the Bindings: Reduce the tension on your ski bindings by loosening the toe and heel screws that drive the visual indicator for your DIN setting. This will help prolong the life of your bindings. Be careful to not go past the minimum of the range in the DIN visual indicator window as a mechanical failure can occur if this screw is loosened beyond the grip of its thread.
- Store in a Cool, Dry Place: Store your skis in a cool, dry place away from direct sunlight and extreme temperatures. Avoid storing them in damp areas like basements or garages where moisture can cause corrosion.
6. Regular Inspections
Check for Damage:
Before each season, and periodically throughout the season, inspect your skis for any signs of damage or excessive wear. Look for fatigue cracks, significant gouges, edge damage, or any issues with the bindings. Early detection can prevent small problems from becoming bigger, more expensive issues.
7. Professional Servicing
When to Seek Professional Help:
While many maintenance tasks can be done at home, some require the expertise of a professional. If your skis have significant base damage, need a full tune-up, or if you’re unsure about any aspect of maintenance, take them to a reputable ski shop for servicing.
Conclusion
Maintaining your M1 Skis is an essential part of ensuring that they continue to deliver the exceptional performance you expect. By following this ultimate guide, you’ll keep your skis in top shape, ready to take on any slope with confidence and precision. Remember, well-maintained skis not only perform better but also last longer, making your investment in M1 Skis even more worthwhile.
So, before you head out on your next adventure, take the time to care for your skis. They’ll reward you with smoother rides, sharper turns, and countless unforgettable runs.


